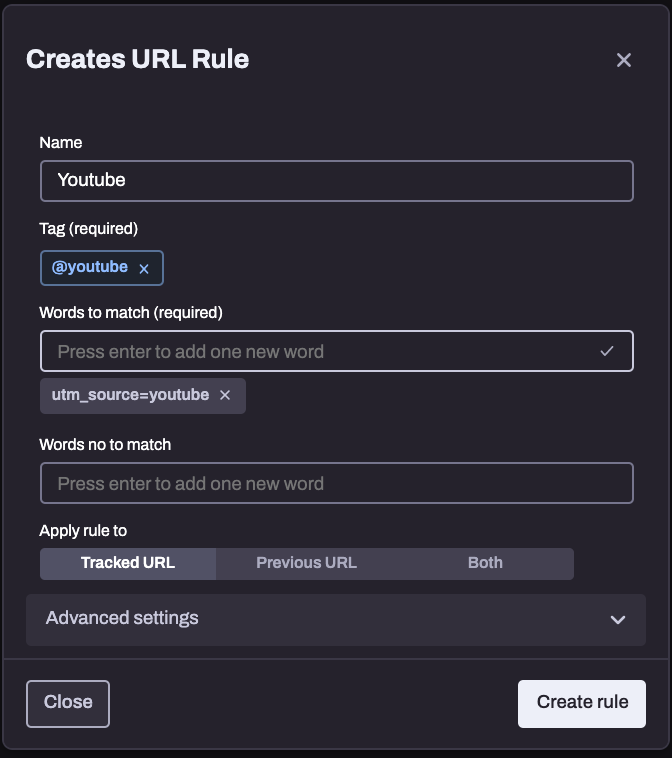
Part 1 – Checking the Hyros Email Tracking Parameter
Send yourself a test email from your email software. Please note that this is the only way to test it properly, if you try and test the link from anyone outside of a real email, our URL parameters will not work in the same way.
Click on the link just like a lead would. When you are sent to the landing page, check the URL of that page. You should see both of Hyros tracking parameter clearly attached in the URL like this:

After “he=” you should see your test email loaded in the URL.
Also note if you have multiple UTMs on that link and Hyros is NOT the first one, then it should begin with an “&” symbol instead of an “?”, just like this:

If the URL does not appear with our tracking parameter cleanly attached, then there could be a number of issues. Please check the following:
- Please make sure you have added the Hyros tracking parameter on your link.
- If added, please make sure there are no typos on the URL.
- Please also make sure there are no redirects on that link, as these may drop any tracking parameters.
- Please check you are testing from an email in your inbox and not from anywhere else.
If you have followed all of these steps and you are still having issues, please let the support team know and send us the email in question so we can investigate further.
If it is working correctly, please move on to the next step.
Part 2 – Testing the landing page tracking
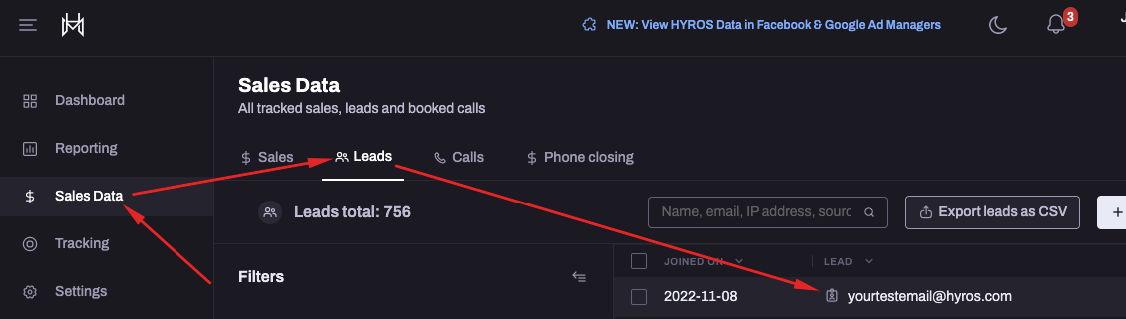
After confirming part 1, inside your Hyros account go to the “sales data” tab and then to “leads”, you should see the email that was loaded in the URL on the previous step here:
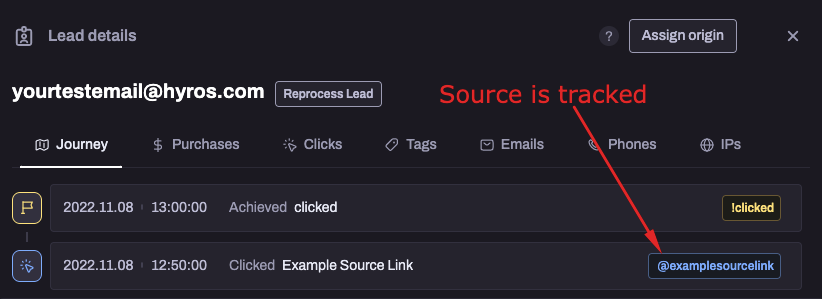
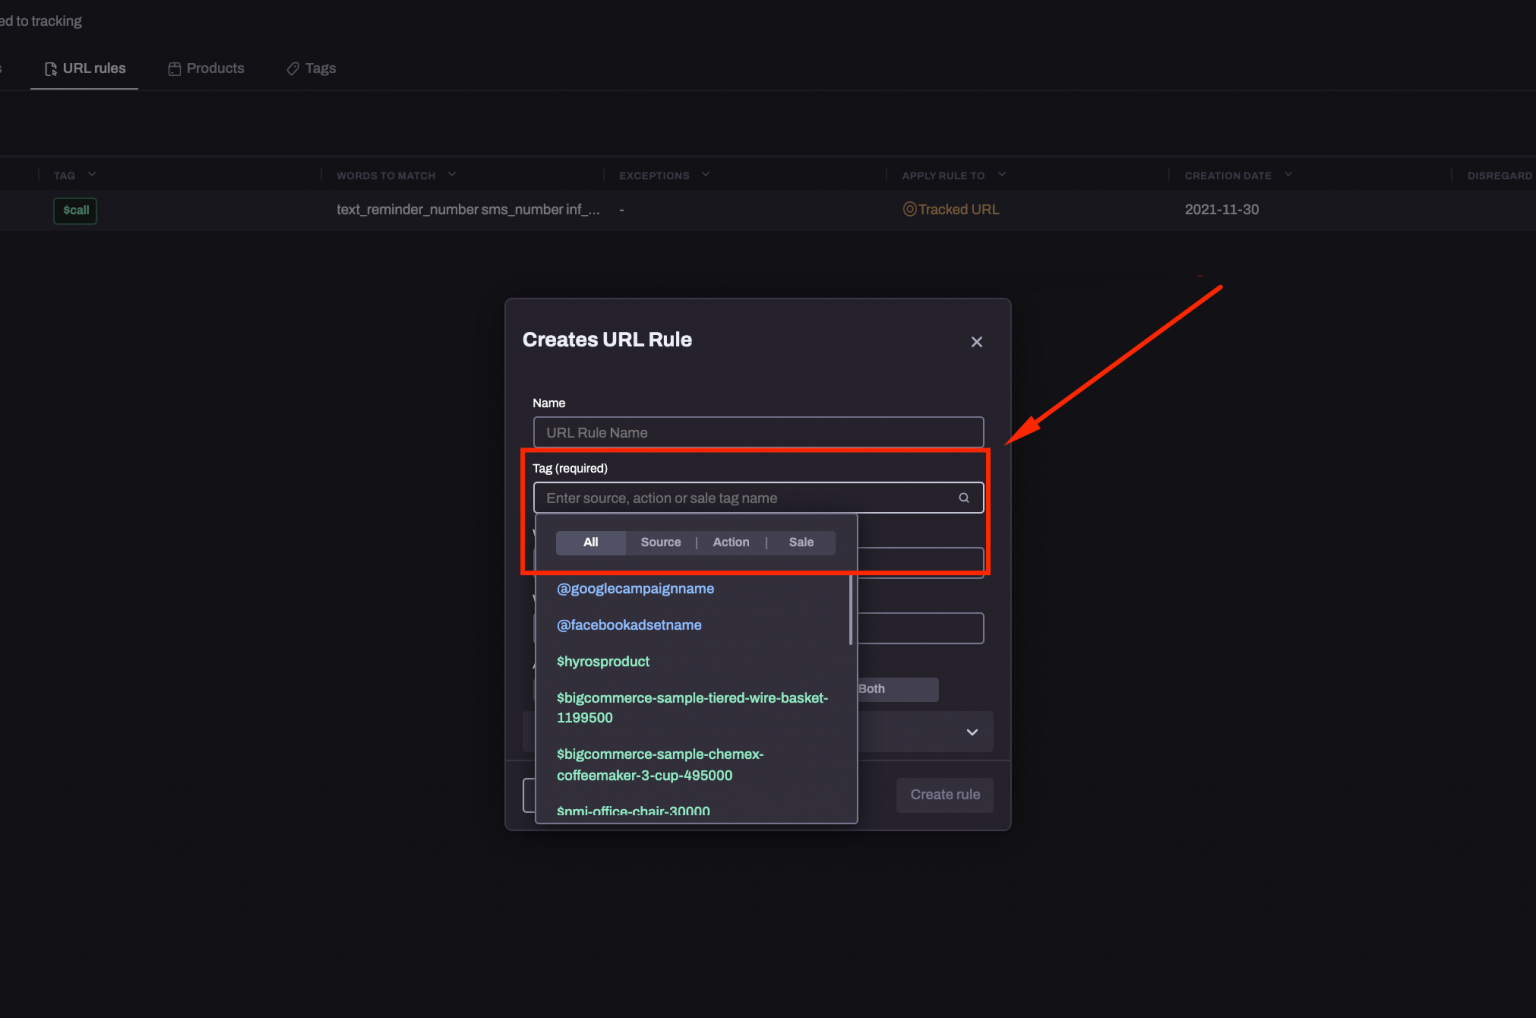
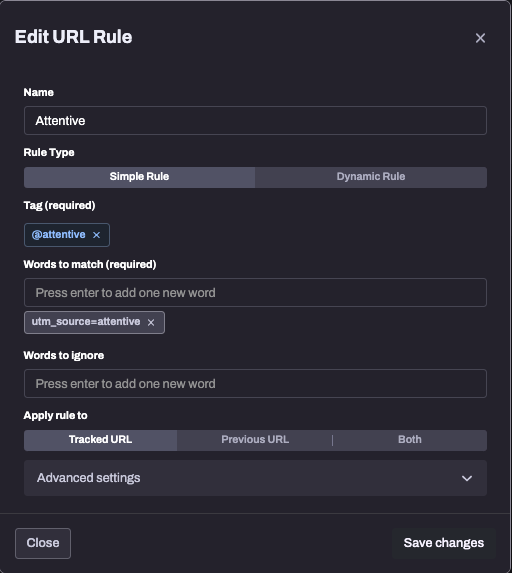
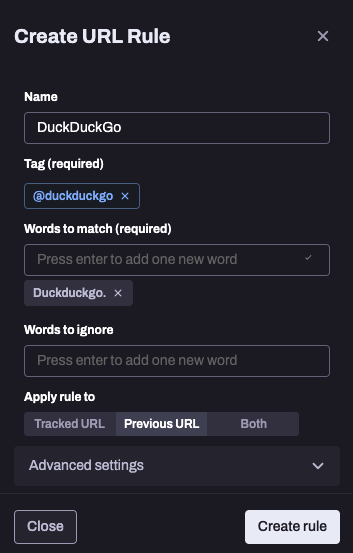
Then if you click on the email itself, you will open the lead profile. You should see the source labelled as a “@tag” in the journey just like the example below:
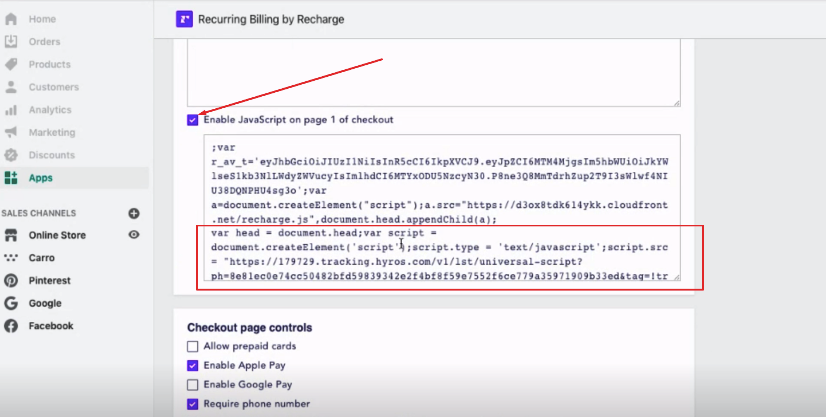
If you do not see any email inside the “sales data tab” – then either the “he=” tracking parameter is not correctly in the URL, or it is possible that the landing page does not have our universal script attached.
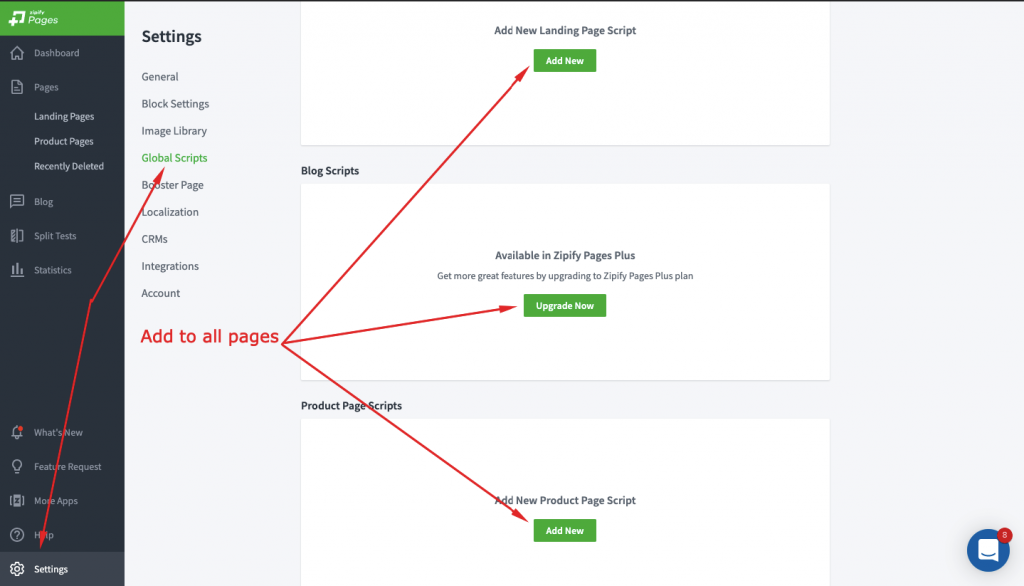
Please revisit the email setup step to ensure the parameters are added correctly, and then step 4 to make sure all pages have the universal script in the header code.
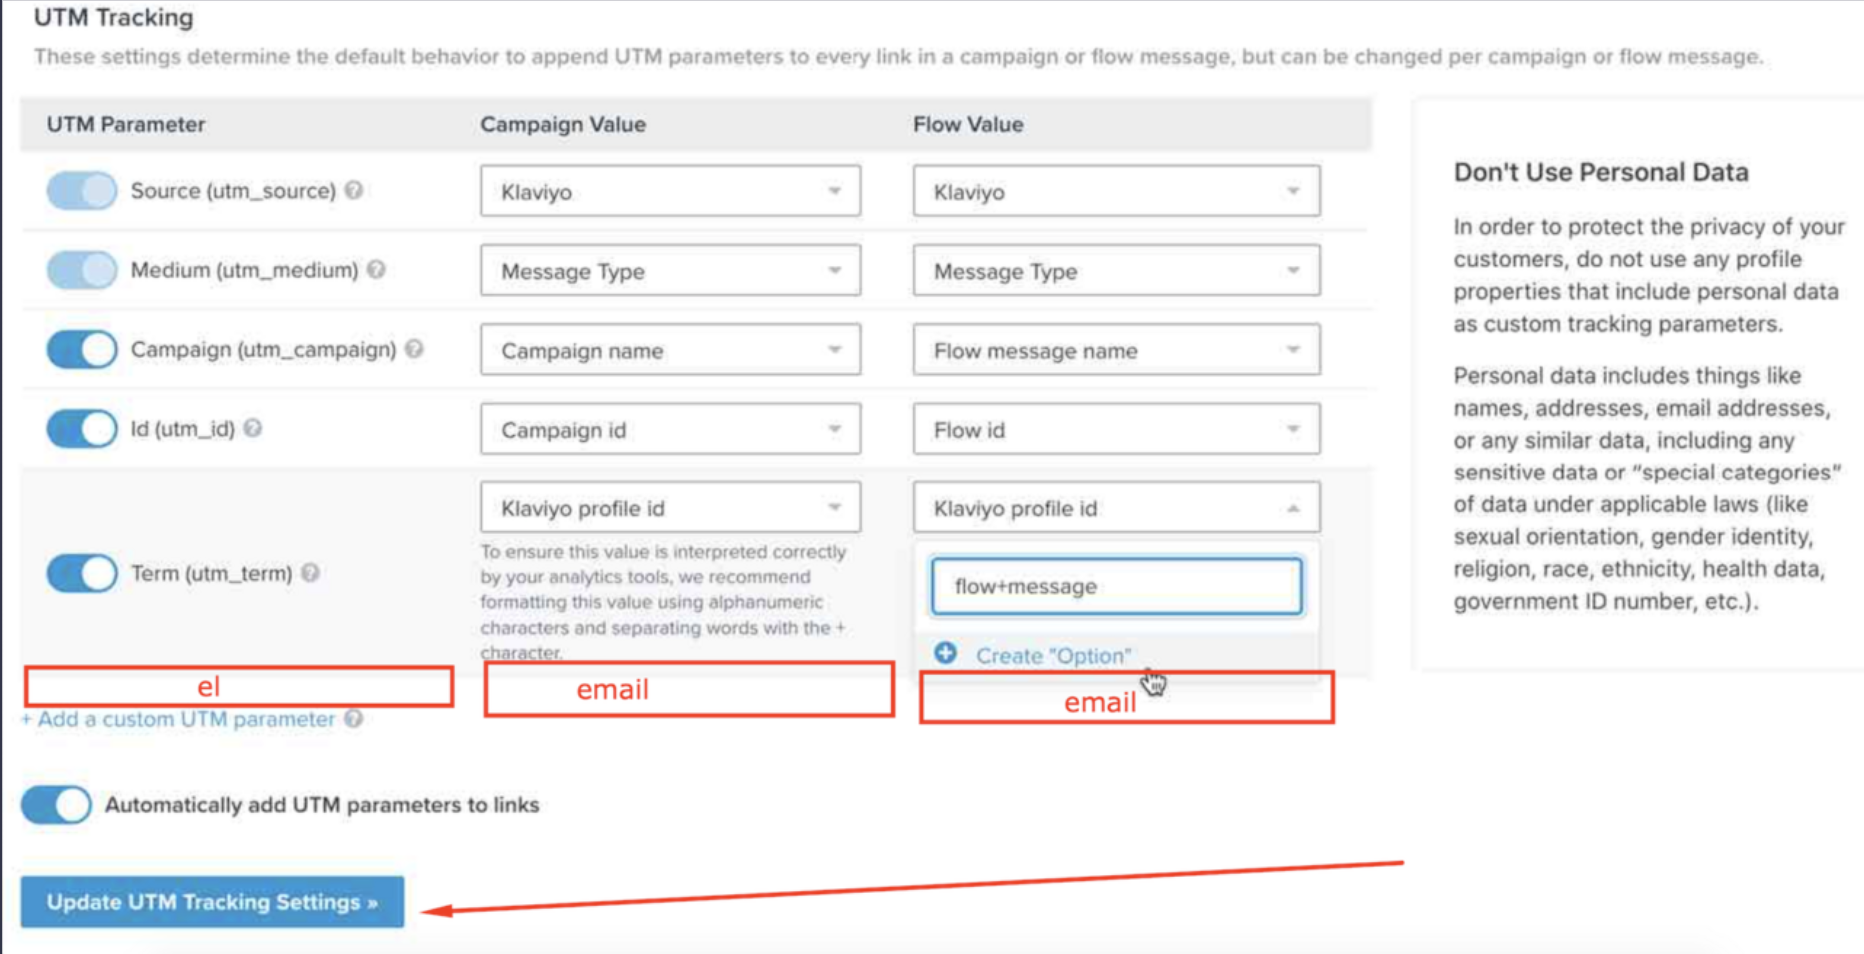
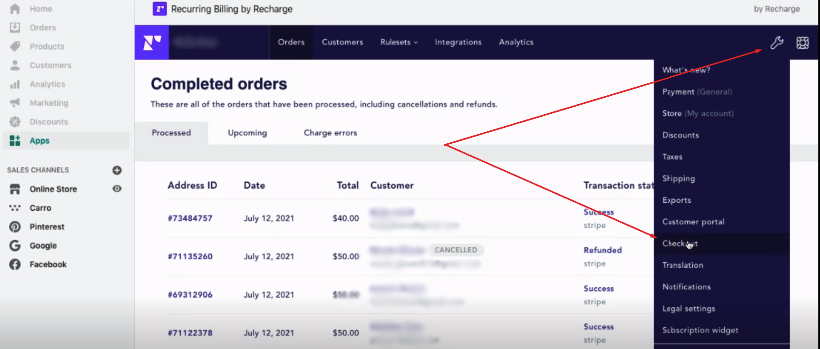
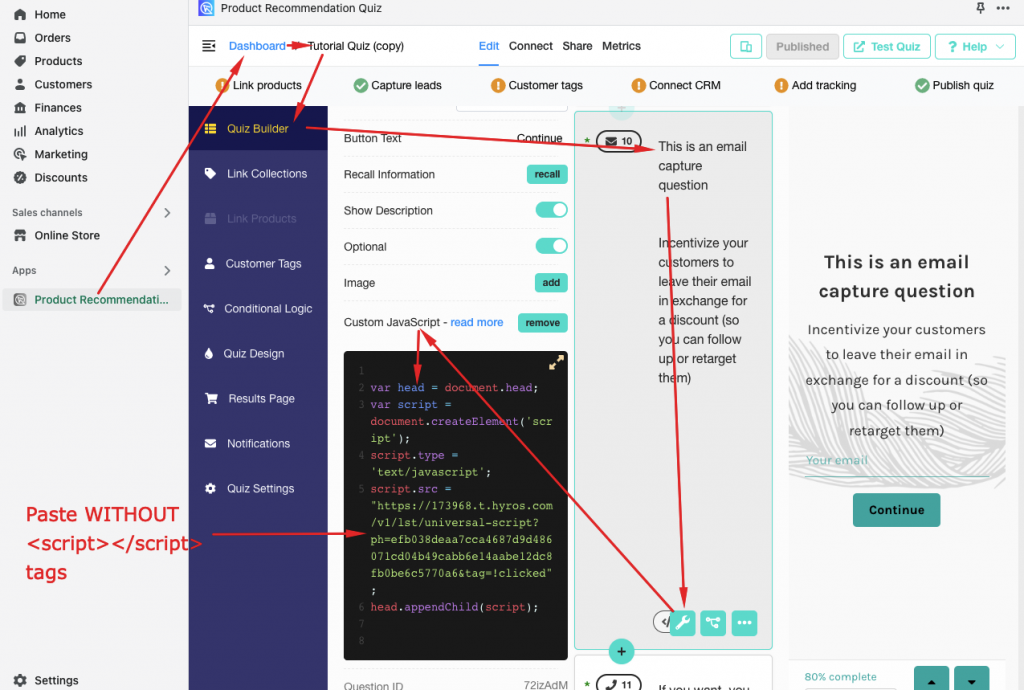
If you see the email but do not see the @source tag in the journey – In this case either you have not added the Hyros “el=” tracking parameter correctly or the landing page is not being tracked by our universal script.
Please revisit the previous steps in the guide to ensure you have added the manual tracking parameter “el=” correctly, and also make sure you have added the universal script to the landing page following step 4.
If everything is working, please proceed to the final test.
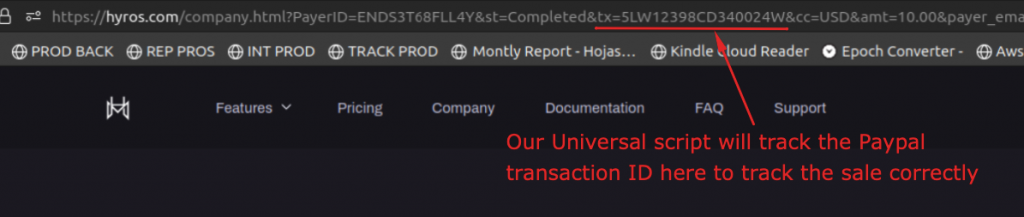
Part 3 – Testing your final funnel pages and Sales Tracking
Staying on the same funnel, carry on like a lead would and perform a test purchase.
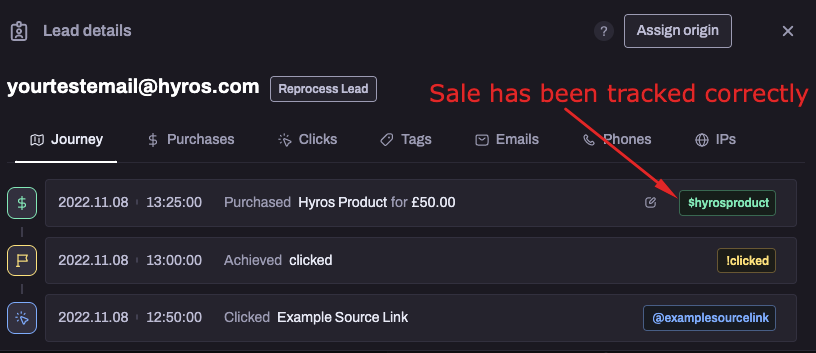
Allow a few moments and check the same lead journey again, you should see a new $tag, signifying a sale has been tracked and has been attributed correctly to the lead you have created.
See the below screenshot as an example:
If you do not see any sale – please go back to step 5 to confirm you have integrated with the correct checkout or payment processor software.
If you see a sale, but not attributed to the same email – If you used a brand new email for the test purchase that did not match with the previous email we tracked, then it’s possible that the checkout page is not being tracked by our universal script. Please check step 4 again to confirm all pages are being tracked by the universal script.
If the sale is correctly inside Hyros and attributed to the lead the setup is complete. Please test any other sources and funnels in the same way.


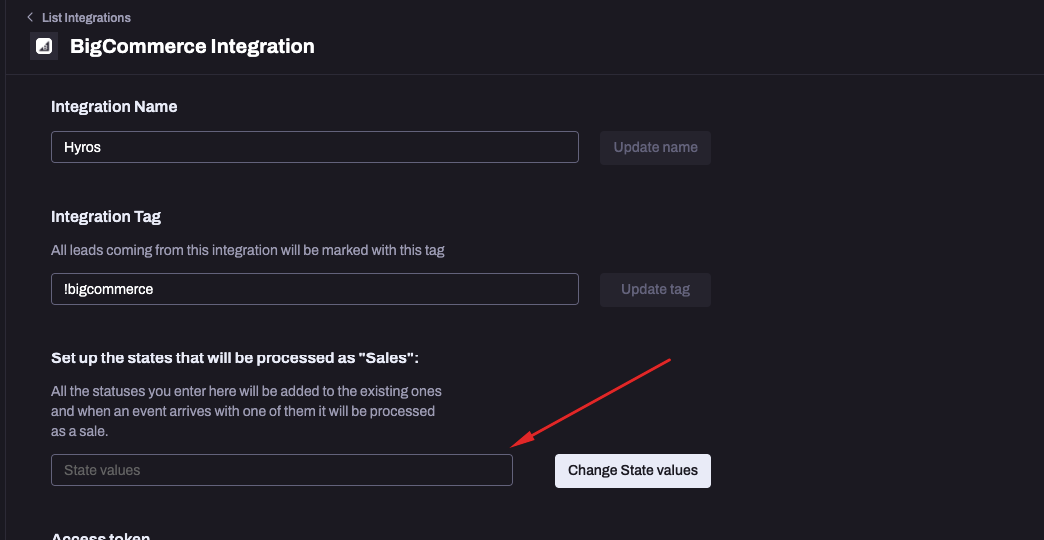


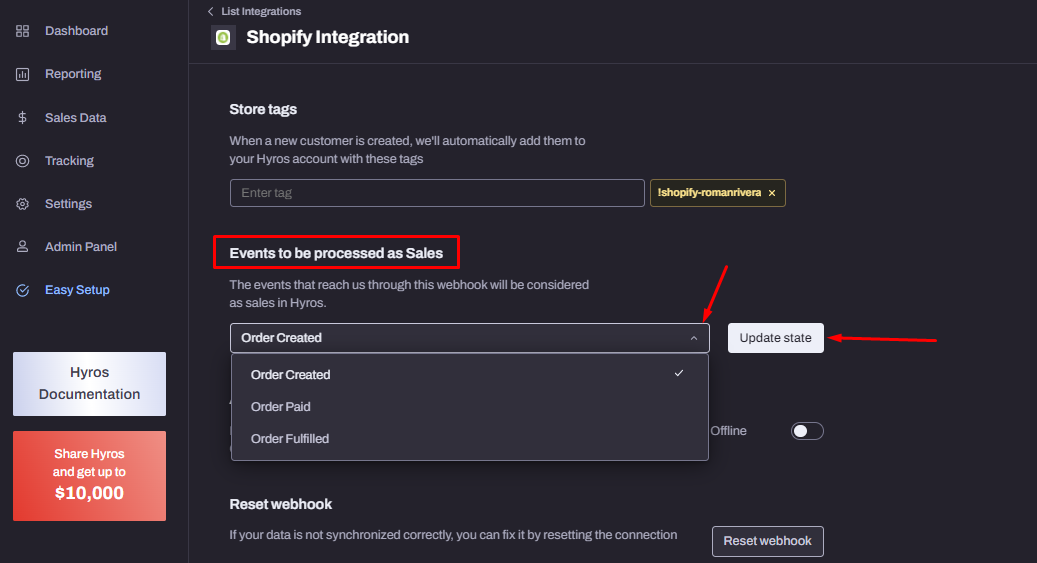

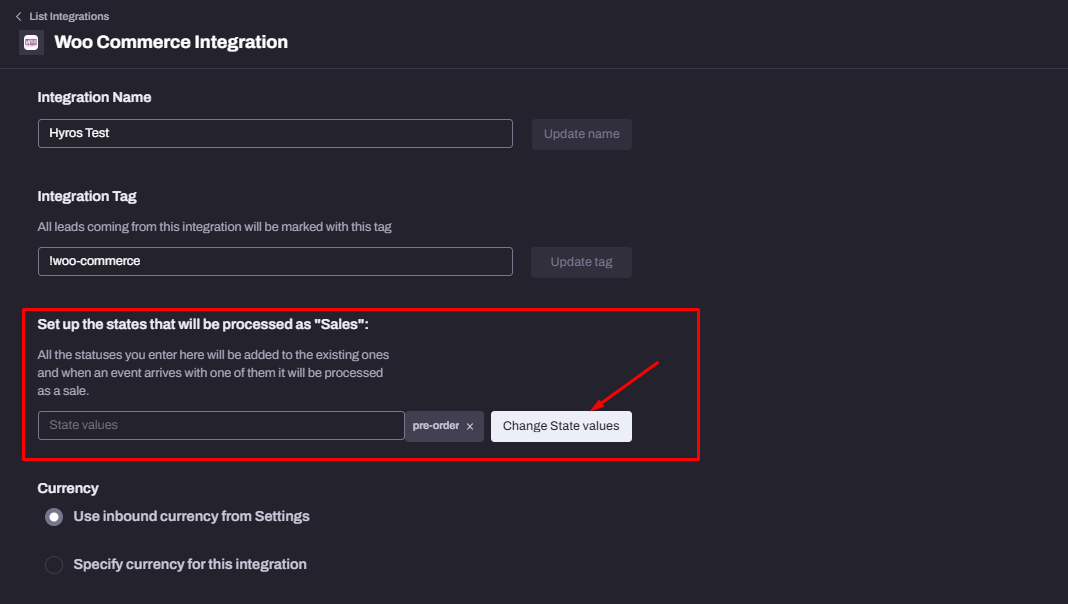
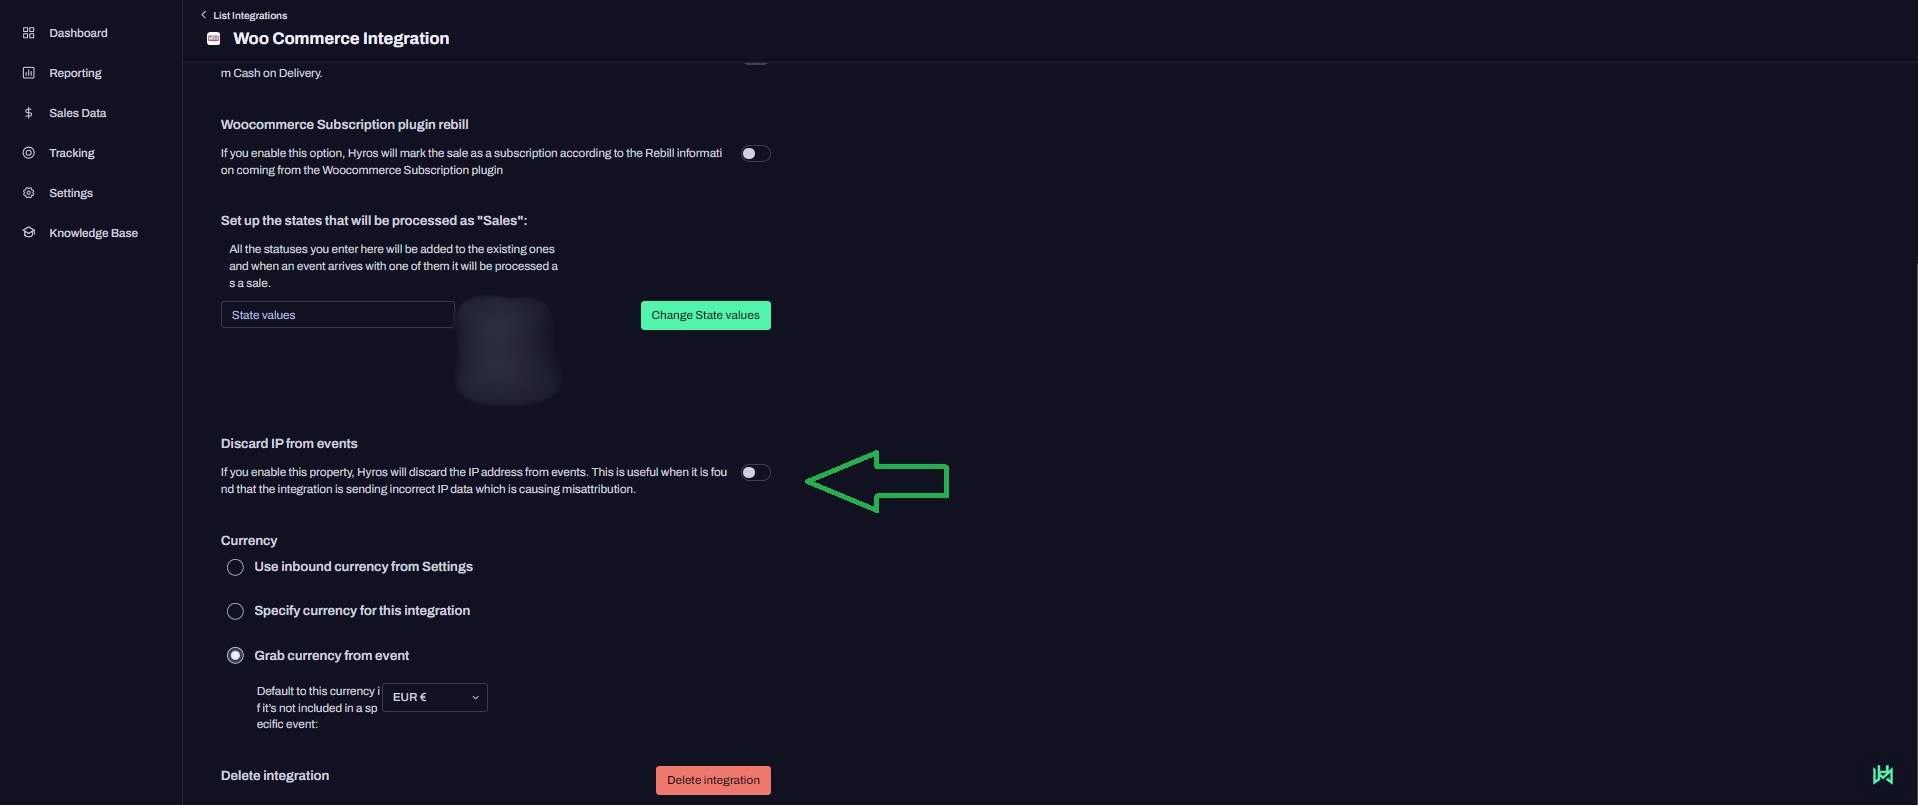
 Please type in the different order states you would like Hyros to consider as Sales, then complete the process by clicking on Change State Values: