Adding the Pixel with Event ID Automatically to your Shopify Store for Deduplication
This guide covers how to add the Facebook pixel to your Shopify with event ID for deduplication.
This is the simplest way to add the Event ID to your Facebook events for Shopify. If you don’t understand what this means yet, we would suggest reading our main documentation for this feature HERE.
Also please take in mind that the app used to add the pixel is managed by Meta, and not Hyros. This guide will assist you in adding the pixel specifically for the purposes of sending the data back from Hyros into Facebook and deduplicating events, any other features of the app should be investigated inside of Facebook’s documentation and discussed with their support.
To get started:
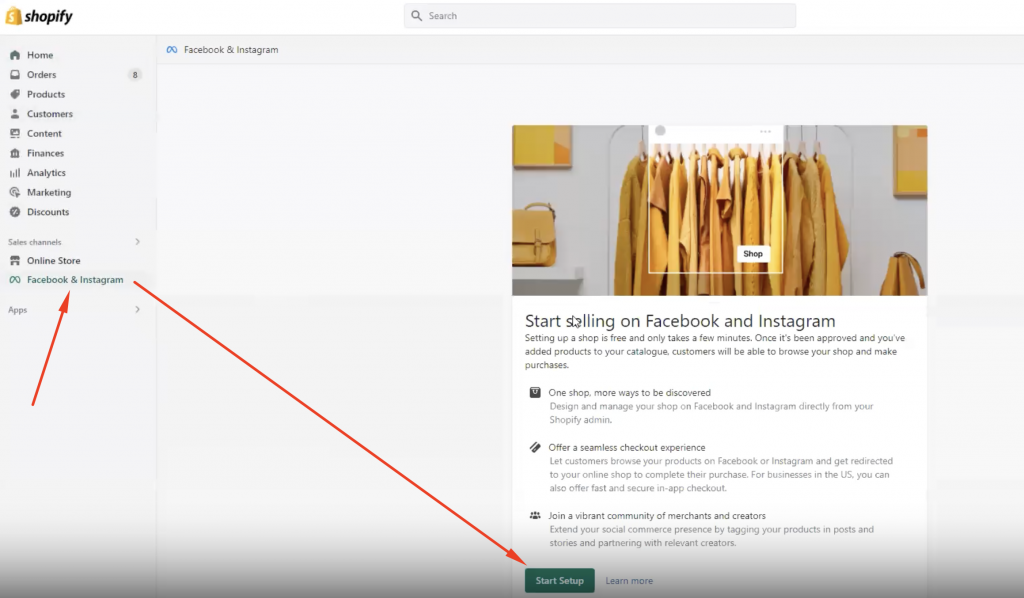
- Go to your Shopify account.
- Click Sales Channels.
- Select Facebook & Instagram and then Add App.
- Click Add Sales Channel to complete the installation.
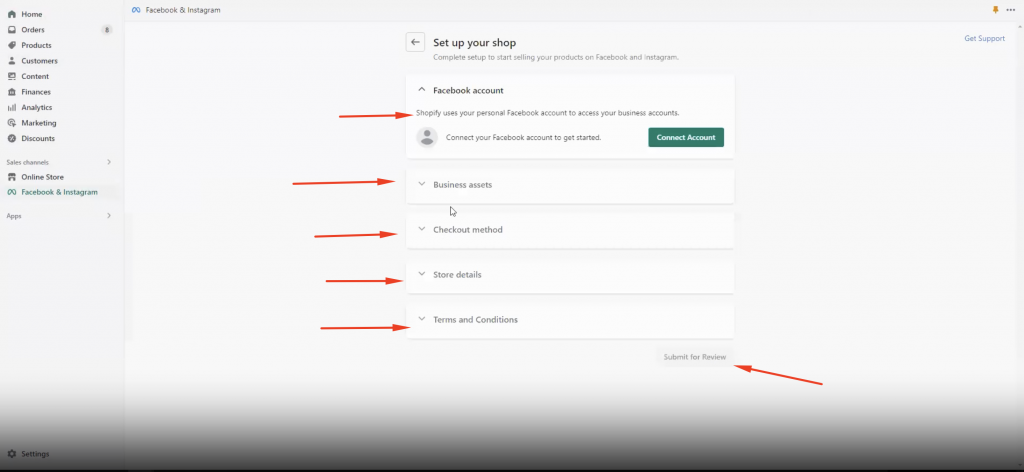
- Click Start Setup:
Then simply follow the prompts step by step to complete the setup:
A couple of important notes regarding this setup that you will need to be aware of:
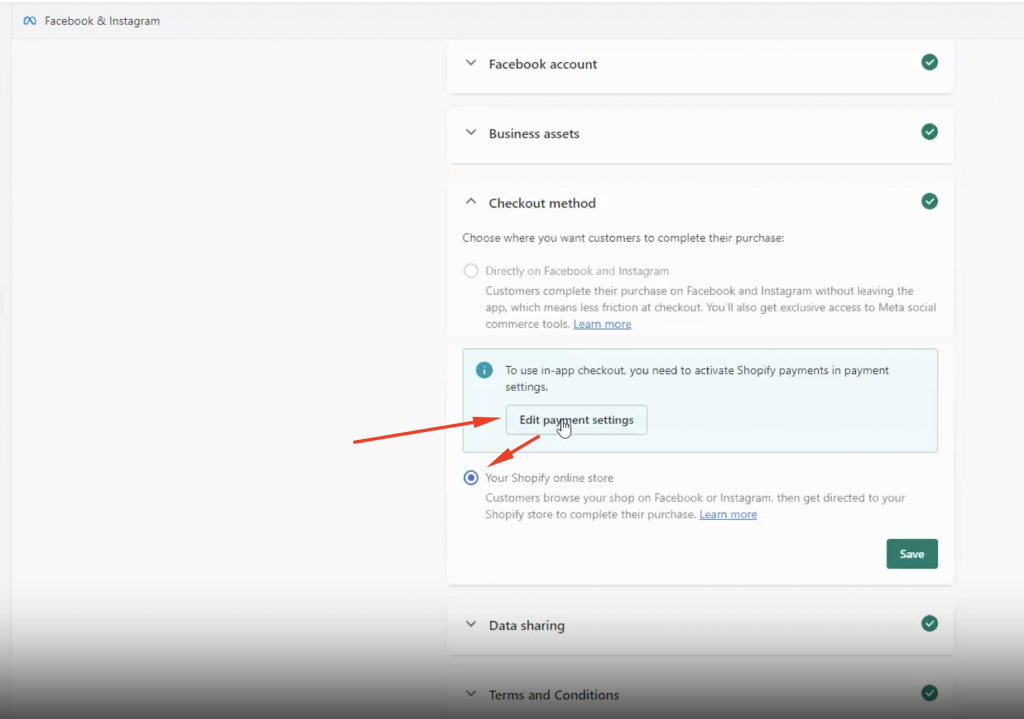
Checkout method: You will still need to checkout in your online store for Hyros tracking to function correctly.
However upon testing this app, it shows an error if you do not edit the payment settings to add a payment method (either via Paypal or Shopify Payments), so please make sure you complete this step:
Data Sharing: Facebook by default will have this set to “Enhanced”, however this will activate the conversions API for Shopify, which will then send data directly from Shopify to the Facebook pixel.
Facebook will not deduplicate events sent from 2 different server-side sources (aka 2 of the same event sent via the conversion API). Therefore it is not possible to send Hyros events to your existing Facebook pixel and events if you have this set to “enhanced” or “maximum”.
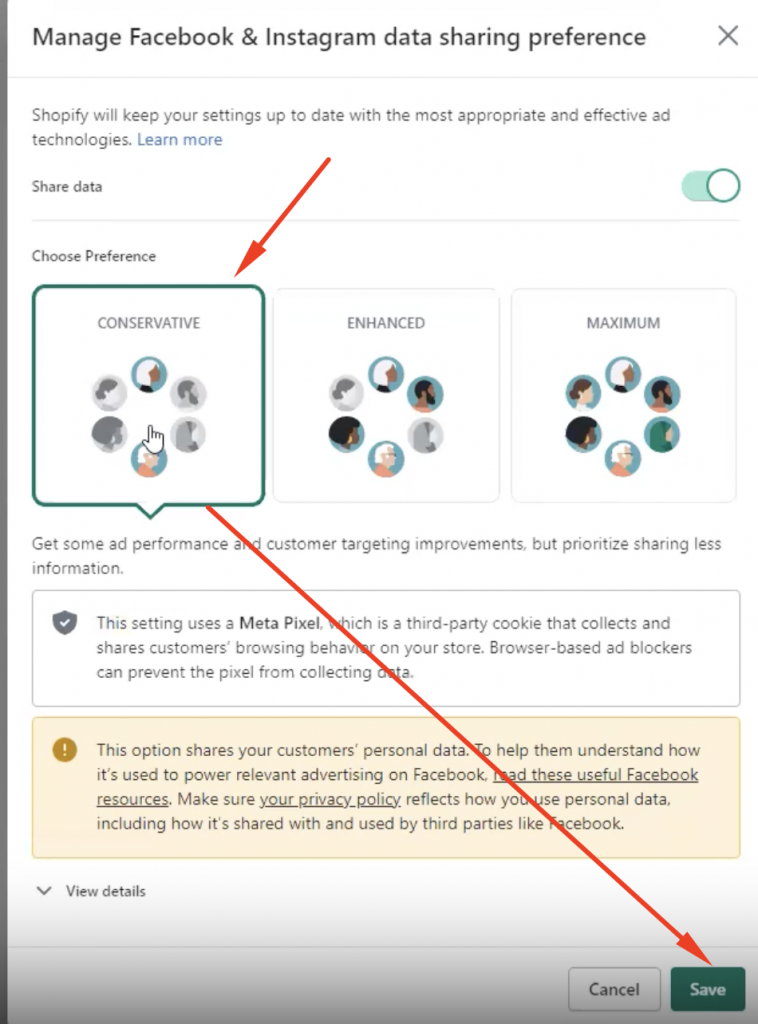
For this reason, please ensure this is set to “Conservative” and then select the pixel you want to send Hyros events too. The conversions API will be setup inside Hyros instead, so we do not want to activate it here:
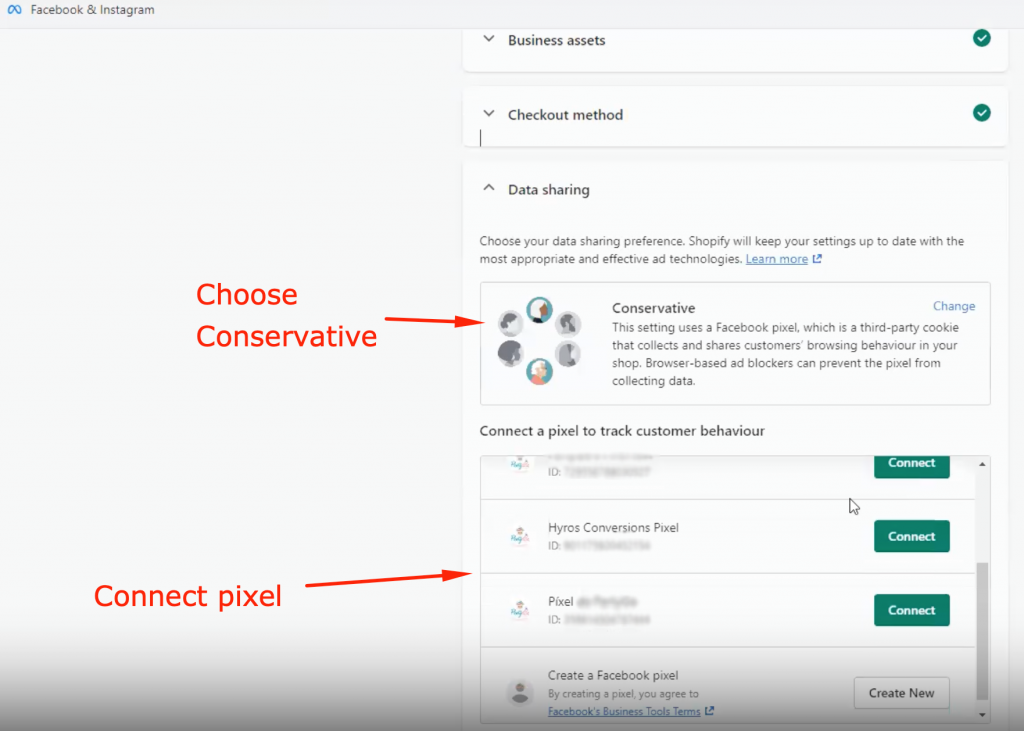
When you select “change” to configure this, you will be shown more details about each option:
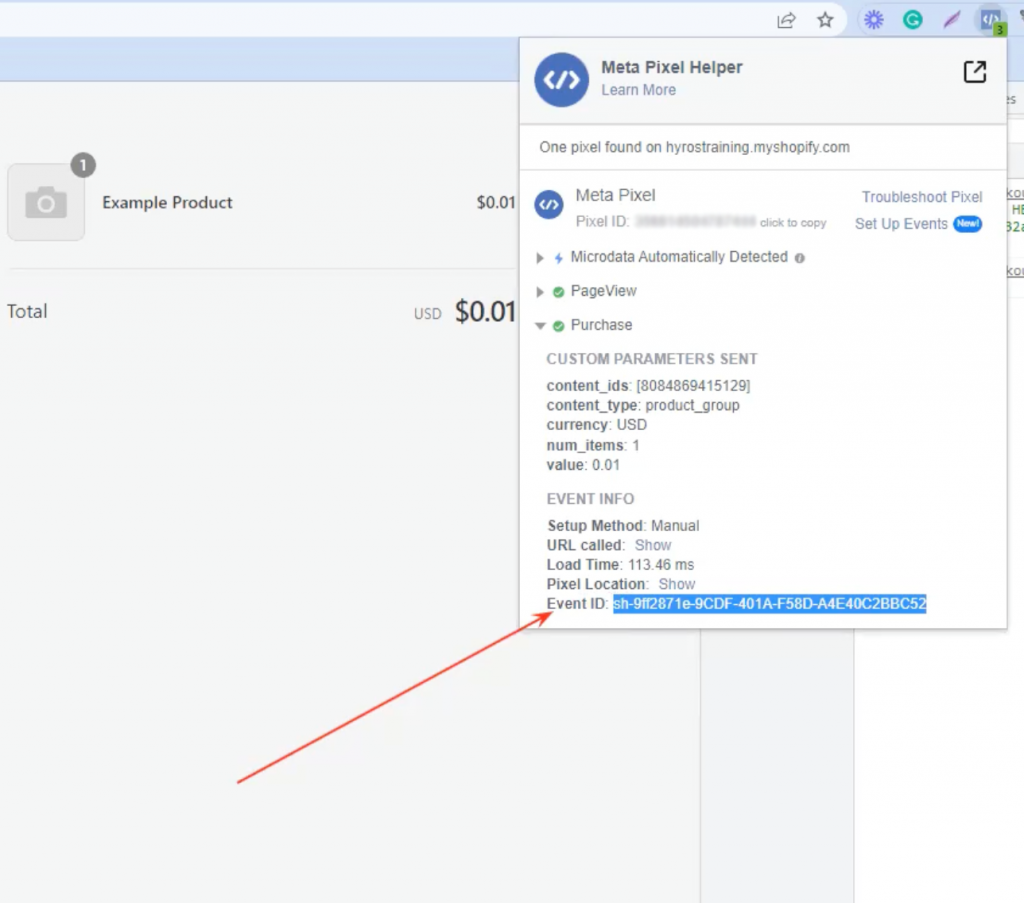
Next run a test by going to your live site and triggering the event you are trying to send Hyros events to. In the below example you can see a Purchase event.
Using the Meta Pixel Helper, find the event ID as shown:
If you run into any issues such as an error message when setting up the app, or not seeing the event ID as shown above, then you should first ensure all steps above are followed then check you have followed Facebook’s documentation HERE, but please ensure you continue to use “Conservative” data sharing.
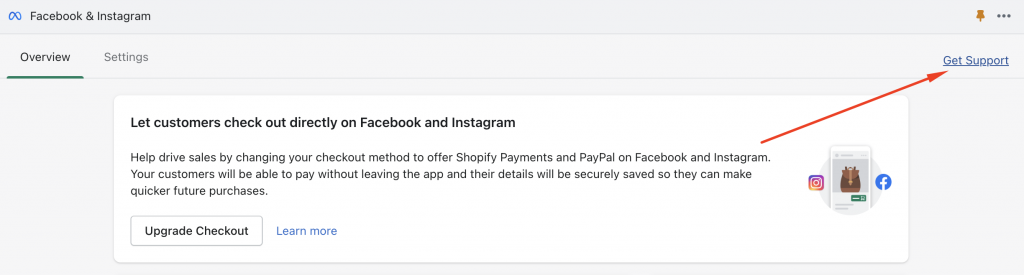
Failing this, reach out to Facebook support for more information. You can reach out to their support within the app here: